User Setup
For learning website creation, you will need a domain name and a web host. You can certainly buy those if you wish, but for learning, I will be happy to create a subdomain for you on this website.
If you wish to pursue this option, please let me know, and I can set it up for you. Once you have your portal ready, you should be receiving emails for login.
This is for the project assignment. I will also be installing all the necessary plugins and a few additional theme options for everyone. Unfortunately, on this setup, I can’t find a way to allow you to add plugins from your end. However, if there is a specific plugin or theme you would like to try, please search for it online and send me the link. I will be happy to add it for everyone.
Your portal after registration will look like this: students.harishgautam.net/<your-selected-subdomain>. For example, if you chose ‘john’ as a sub-domain, the final link will be https://students.harishgautam.net/john, and if you suffix /wp-login.php, that will be your dashboard access link.
Feel free to use any method. Once your website is ready, you will post the link for everyone on Moodle.
If you are planning to use my subdomain for learning, please follow the steps!
Self-Serve Easy Site Creation Process
- You can register yourself from the ‘Register Now‘ link and check your email for details.
- If you did not receive the registration email after the above step, please check your junk folder. If can’t find it there, please send me an email and let me know your chosen username, email address, and I can resend it.
Post Registration -Let's Kick-Start
- Once you have registration details, in order to log in and work on WordPress, you should go to the URL followed by wp-admin. For example, https://students.harishgautam.net/<your-selected-subdomain>/wp-login.php link and enter your credentials.
- Log in to your WordPress account and navigate to Appearance-> Themes and activate the Astra theme.
- Now, click on Appearance->Starter Template
- Select Classic – Elementor (Not with AI)
- Select ‘Love Nature’ (Needs Astra, we already activated that theme)
- Select Features – Uncheck all optional features that are ticked blue and click Continue
- No need to fill your name, email, –
- uncheck to help us improve your experience,
- Check I understand, let’s go!
- Submit and Continue – wait patiently while your website is being built using the starter template.
- Now, click on Appearance->Starter Template
- Congratulations! You just set up your website, you can go to the public link and have a look.
- Now, as per your plan, modify all the pages and elements and have fun.
- Start your SEO journey now go to settings -> Permalinks -> select ‘Post name’ as the Permalink structure option. (This makes better links for posts, for SEO purposes.)
- Let’s make mistakes and Learn from our mistakes: Don’t be afraid of making any mistakes, at any point if you want to reset everything you can go to Tools-> WP Reset.
Helpful Video
- *Recommended Video – From Moodle ‘Videos and Additional Resources,’ go to the external link of the course website and you will find a video on using the ‘Elementor’ plugin and ‘Tips on website Creation’, these are 4th and 5th videos under the ‘Building WordPress Website’ toggle. You might see different options in videos, as the Elementor plugin has also been updated. Feel free to explore more videos from YouTube related to Elementor.

Happy Learning!!
Please note that your parked website may be removed after completion of this course. You are thus suggested to take a backup. If you need to keep it for longer, please let me know how long you need it and I will accomdate as possible.
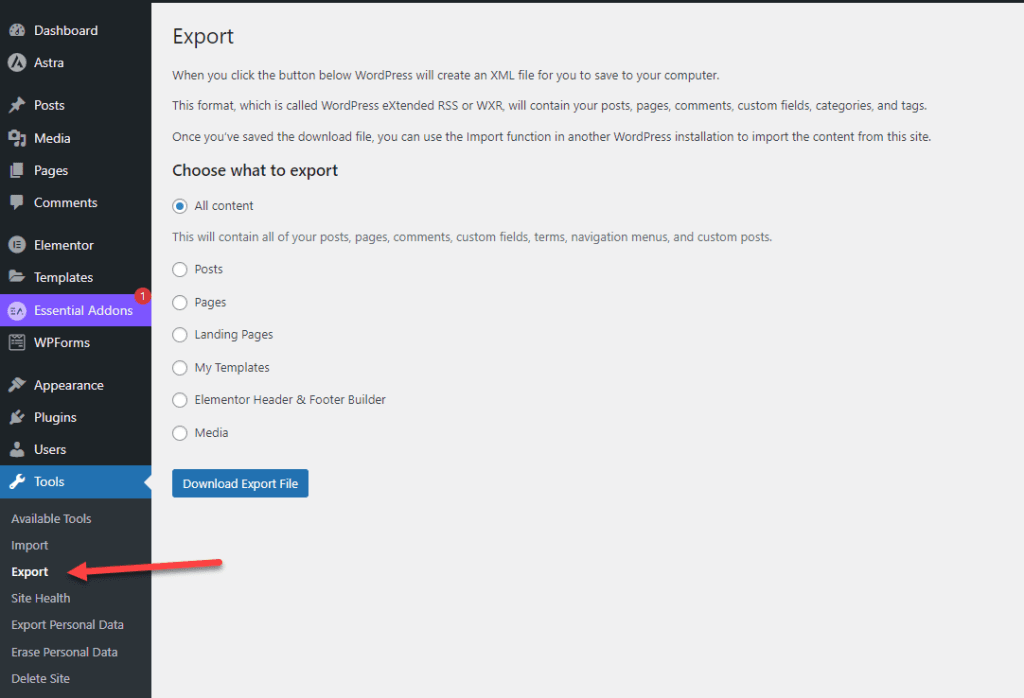
In case you are interested in migrating the website to your own domain, you can follow the steps. There is an option to export your WordPress website and save it locally at your end so that you can import it in future to your new domain.
For further help to import, you can visit this blog post.